
In October I went on the Take One Flower course to learn free motion machine quilting and after a few battles with my sewing machine I put together the mini quilt top and free motion quilted flowers and wavy leaves all over it ... and popped it in the cupboard.
Now that I've finished my big Star Quilt I thought it might be time to try out a bit more quilting, and learn how to bind a quilt on the mini quilts before I tackled the starry behemoth.
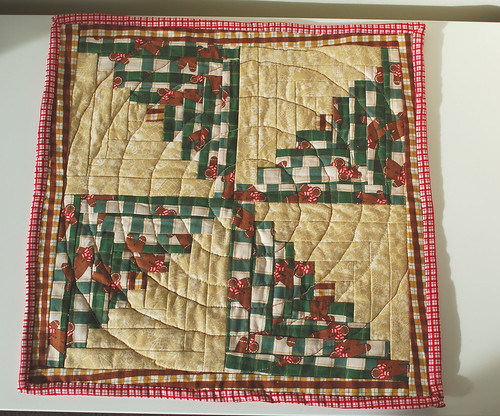
First on the machine - the Gingerbread Cabin. I had a cunning plan for this one because I knew that I wanted to quilt it in a spiral to match the spiralling log cabin blocks. So, I found this:
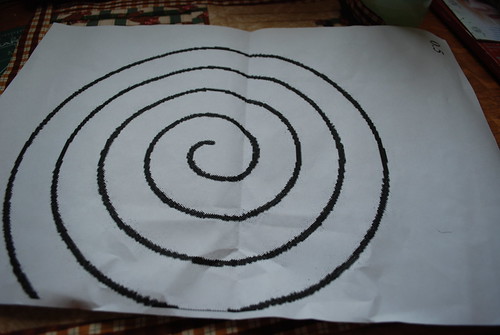
A spiral; massively blown up on the photocopier. If you cut out the thick black line it looks like this:
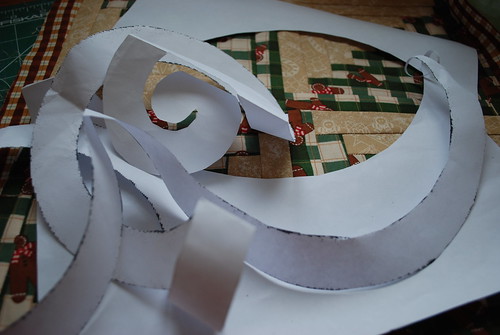
But once unwrangled gives a great spiral stencil. I matched the centre of the spiral to the centre of the quilt block and drew round the lines in a washable marker.
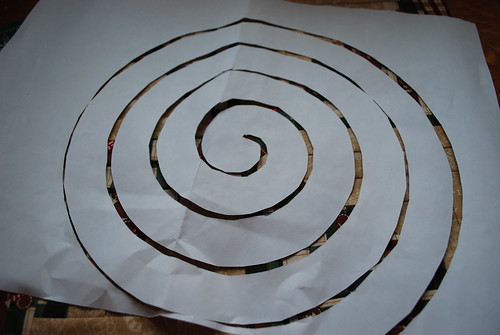
If you look carefully you can see the turquoise lines.
When the stencil ran out I simply carried on freehand using the same spacing to give one continuous swirl.
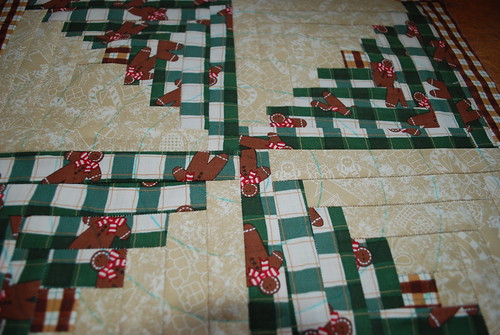
And then came the moment of truth - the quilting! My freemotion quilting is still very basic beginner level and what I learnt most from this is that it is really hard to quilt a smooth continuous line - wiggly leaves are so much easier.
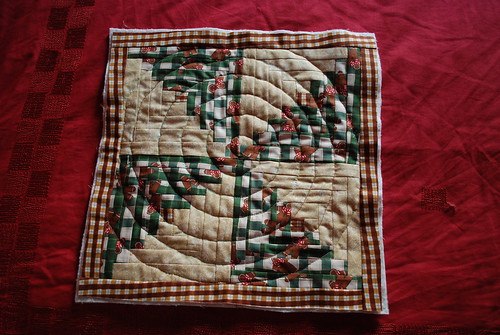
It definitely looks like a spiral though - just don't look too closely! I used a variegated brown-cream machine quilting thread which is why some of the quilting looks darker than other bits. The machine quilting thread is a bit thicker than ordinary thread and you have no idea how long it took to get the bobbin to set correctly - I think it doesn't like machine quilting thread all that much but it's worth it in the end.
For Stage 2, applying the binding, I followed Amanda Jean's excellent tutorial (which can be found here) - it has lots of close up photos and there wasn't anything that I didn't understand in her instructions.
I picked a red check out of the stash to bind the Gingerbread Cabin quilt - it isn't part of the fat quarter bundle but it picks up the red bow-ties on the gingerbread men:
And it goes really well with the backing fabric.
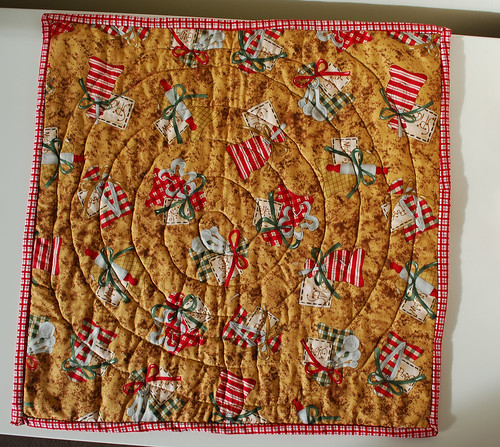
I'm so glad that I got to use this fat quarter as backing because it's just too cute to cut up further because you'd always be cutting off part of a motif - and they're just wonderfully gingerbread themed:
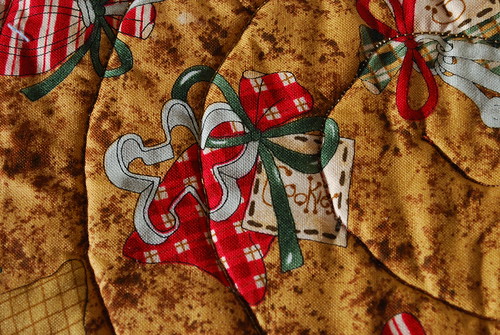
Maybe I should make some little gingerbread people to go with it?
The Periwinkle-Daisy mini quilt was much quicker to finish because it had already been quilted, and because I had more of an idea about what I was doing!
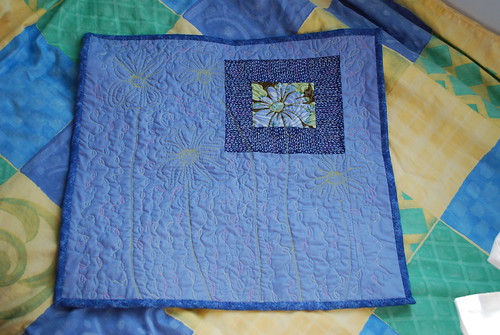
The binding is a gently variegated blue that adds a border without taking anything away from the flowers and looks quite nice next to the Hydrangeas on the back.
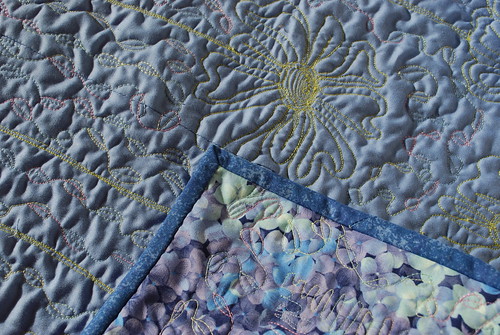
The binding isn't perfect on either quilt and I'm sure to a trained eye they look wonky and bumpy and have wibbly sides but for a first attempt I'm pretty pleased with them.
As I sat on the sofa handstitching the bindings to the front of the quilt I showed each one to H and he responded that he thought they were very nice little quilty things - whatever they were meant to be. Truth be told, these aren't meant to be anything other than practice pieces - so I think I'm going to put them on the wall in my sewing room for inspiration and insulation. Because clearly a room that has half a wall of yarn cupboards is in great need of insulating!
Thanks for the nice stuff. It is incredible.
ReplyDelete