
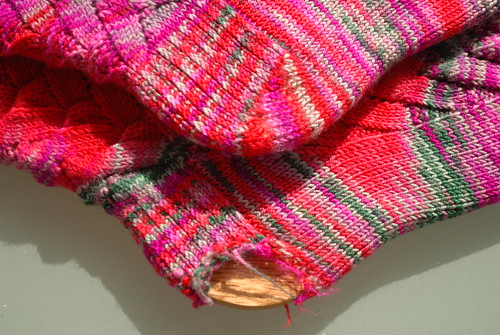
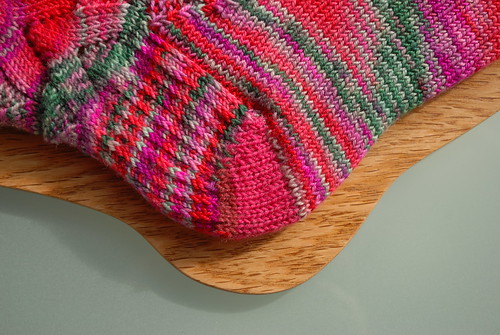
Her first pair of handknit socks - now sporting extra ventilation on one foot and about to follow with the second.
Now whilst I might ordinarily subscribe to the quick and easy method of darning (hold sock over bin, say "darn", let go!), my MIL has just the two pairs of handknit socks and loves them dearly. I hadn't realised until very recently that her handknit socks are her nightly treat for her feet after a bath and so although we gave her a second pair for Christmas, we chose something different for her birthday this year, not wanting to overwhelm with the wool unless we knew it was truly wanted.
As it takes me a while to knit up a replacement pair of socks, I grasped the sock by its frayed, fuzzy ends and boldly declared it fixable - and it was. There are probably a myriad of different fixing techniques available on the internet but as it was sunny and I was sat in the conservatory I just went for it - and here's how:
First, I picked up the first row of whole (ie not frayed) stitches below the hole.

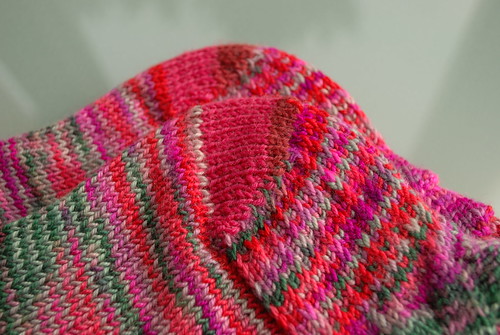
In this picture the sole is facing towards me and the heel and the back of the sock is uppermost. You can see it a little better here.
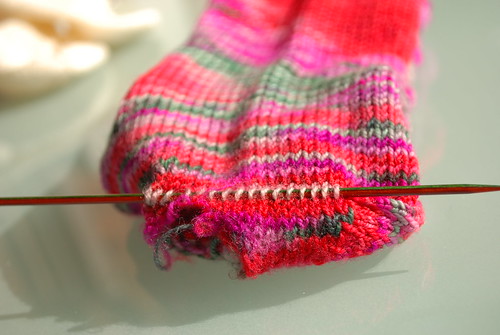
Happily this was the first row of knitting in the round again after the original heel turn.
Then I unravelled the loose ends and ripped back the heel turn; the little semi-circle of knitting that sits on the sole of your foot. Fortunately, all of the wear was in the heel turn, all of the heel flap stitches were intact, I just had to pick up some dropped stitches.
When I had ripped back, I picked up the heel flap stitches so that the sock looked like this:
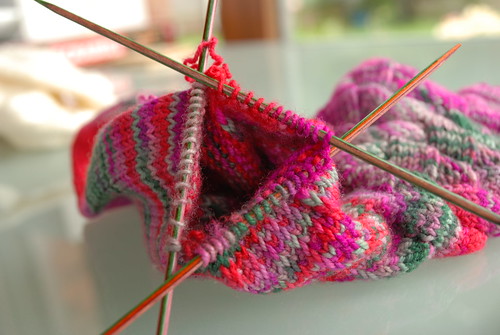
Heel flap on two needles to the right, sole to the left. There are a lot more heel flap stitches (30 in this case) and at this stage I had only picked up 16 sole stitches which was just fine.
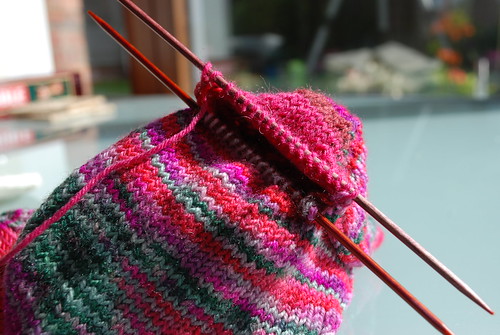
As these socks are Colinette Jitterbug - with the oh so long yardage - the original socks used up every last scrap of Raspberry yarn so H and I went through my box of bits to find some sock yarn that would be a near enough match and found the leftovers from a pink and red stripy pair of Jaywalkers - Regia yarn I think, certainly something with a bit of nylon to give the new heels a longer lease of life (the originals having only lasted a year).
I joined the new yarn and, ignoring the sole stitches, worked a normal heel turn over 30 sts, ending with 18 sts on the needle.
I picked up an extra stitch at either end of the sole stitches to get 18 sts on each needle, and kitchenered the two together.
And after I'd darned in the ends - voila:
It isn't a perfect match by any means but this is a part of the sock that will be underneath Beth's feet most of the time, and is certainly passable by candlelight.
Wash, rinse, repeat and what do you have:
Yipeee - two socks
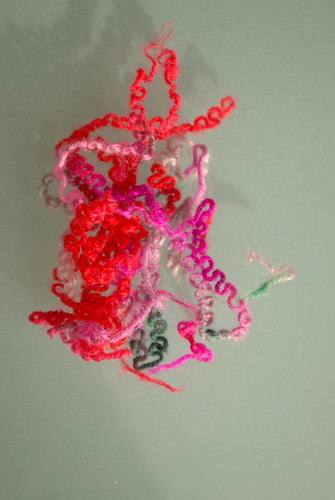
And a little crinkle of yarn
The socks are winging their way to Beth (and I will be seriously cheesed off if the Royal Mail eats them after all that work); and the yarn ....
...I held it over the bin, said "darn", and let go!
Bookmarked!
ReplyDeleteSeriously impressed.
So much faster than knitting a new pair.
ReplyDeleteGREAT JOB!!! I just tried to repair a pair of Koigus with a blown heel and they do NOT look as nice as yours! I should have done exactly what you did because my hole was in the same place...
ReplyDeleteAs good as new! When so much effort has gone into choosing yarns, design and knitting, it seems such good sense to make such a fine job of the repair. Restoration or renovation?
ReplyDelete